使い方
Schedule Generatorは、コースの希望や休憩時間の確保をもとに、最適な授業スケジュールを構築するためのツールです。 最適なスケジュールを作成し、Enhanced Registration の Plan Ahead に送信すると、タイム チケットが開いたときに登録を完了することができます。
Schedule Generator Quick Guide

Log In
- Go to Student Self-Service.
- Urbana-Champaign campus.
- Net ID とパスワードを入力して、Student Self Serviceにアクセスします。
- メインメニューから、登録 & 記録オプションを選択します。
- 登録 & 記録メニューから、強化された登録オプションを選択します。
- Select the View Schedule Generator option.
Select a Term
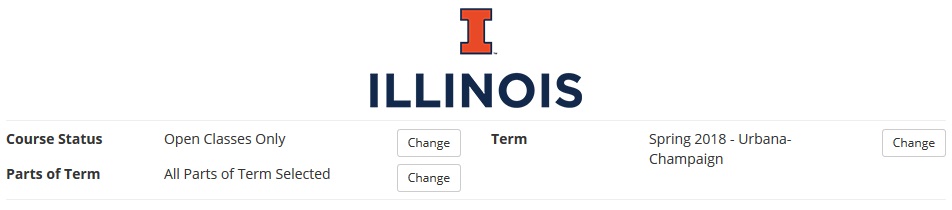
- To begin, select a Term for the Urbana-Champaign campus.
- Once you have selected a term, select the Save and Continue option.

Generate a Schedule
Tip: You can narrow your Course search results to only Open classes, certain Parts of Term, and/or Terms by using the Change options at the top.
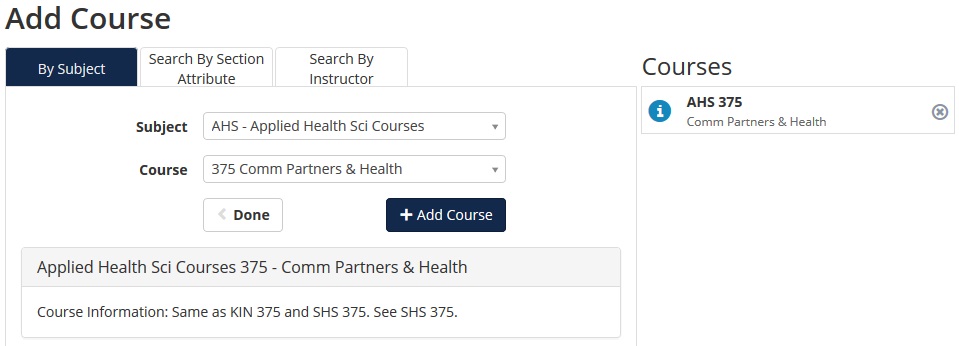
Add a Course
- Select +Add Course to look for courses by Subject, Section Attribute, or Instructor.
- Select +Add Course to add it to your Desired Courses list on the right-hand menu.
- Select Done when you are finished to return to the Main Menu.
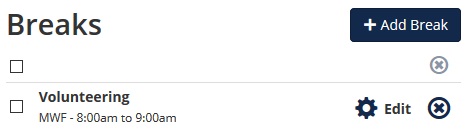
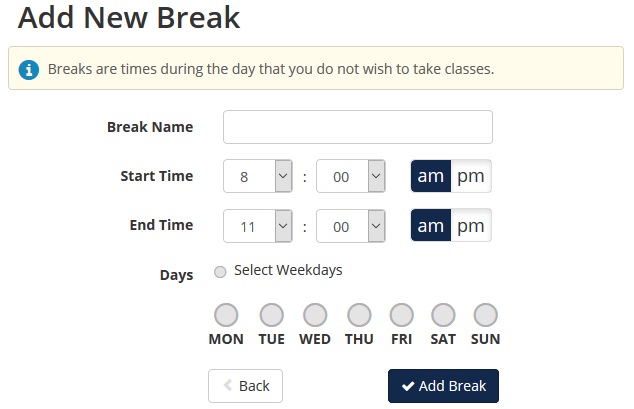
Add a Break
- Select +Add Break to add breaks when you cannot attend class.
- 休憩の名前、開始と終了の時間、曜日を入力します。
- 新しい休憩を追加するために+Add Breakを選択し、メインメニューに戻ります。
ヒント:クラス間の時間を調整したい場合、[詳細オプション] タブの [クラスの調整] プルダウン メニューから希望の時間量を選択します。
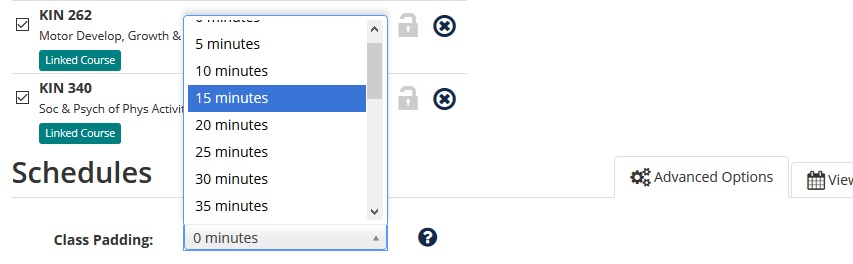
終了したら、スケジュールの作成を選択して、追加したコースと休憩に基づいたスケジュールを作成します。
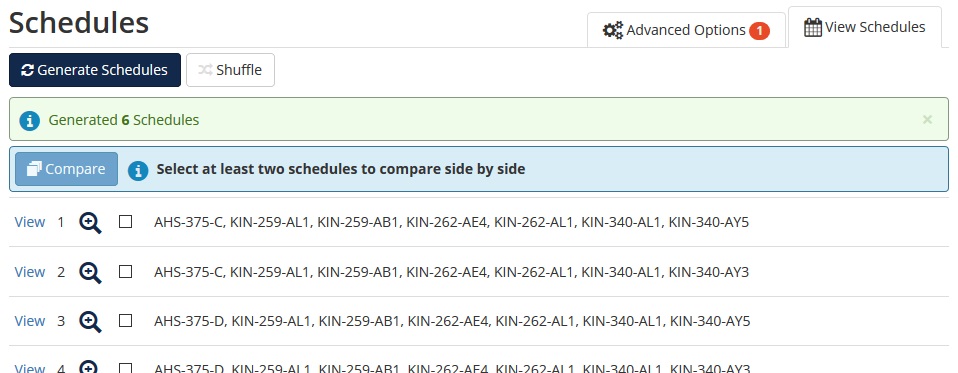
生成したスケジュールを選択する
- 生成したスケジュールの一覧からスケジュールを表示するには、虫眼鏡にマウスを合わせるかその横にある表示をクリックします。
- スケジュールにあるボックスをチェックし比較オプションを選択すると、スケジュールの比較を行うことが出来ます。
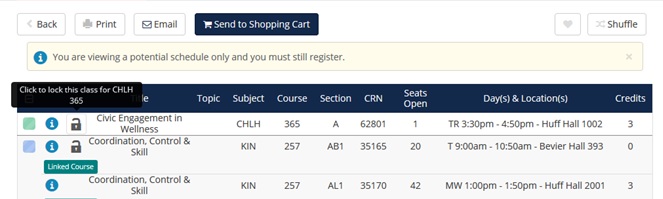
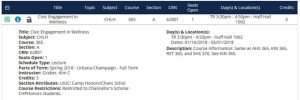
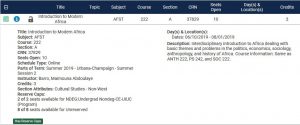
- スケジュールを表示する際、コースの横にある青い情報円を選択すると、コースの制限、予約席、前提条件、登録を妨げる可能性のある特別承認の必要性を表示することができます。
- 気に入ったスケジュールがあったら、ショッピングカートに送るを選択して、拡張登録でプラン アヘッドに送信してください。 なお、生成されたスケジュールを選択しても、実際に授業に登録されるわけではありません。
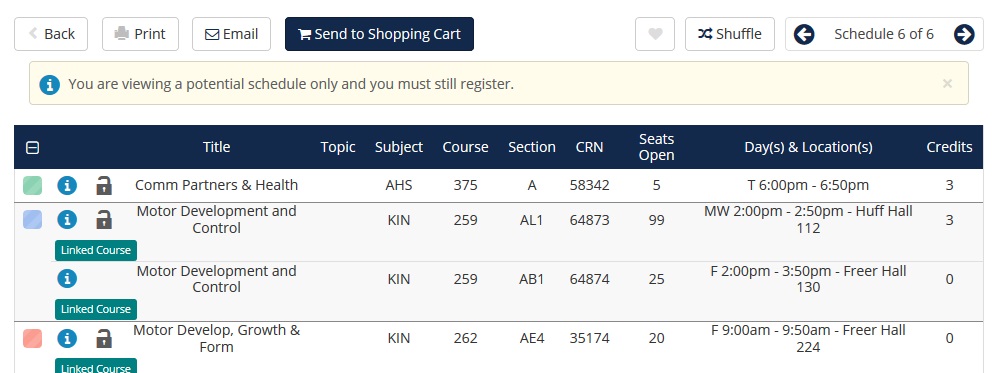
- Schedule Generatorが終了し、Enhanced Registrationメインメニューに戻ります。
作成したスケジュールからの登録
- Enhanced Registrationランディングページから、「クラスの登録」を選択して、登録したいタームを選択してください。
- 登録メニューからプランタブを選択します。
- 複数のプランを作成している場合、Schedule Generater Shopping Cartプランを見つけ、すべてを追加を選択します。
- そのプランからのクラスがサマリーパネルに追加されます。
- これらのクラスの登録を完了するには送信を選択します。 登録が完了すると、空席状況、登録の制限、保留が確認されます。 これらのチェックをパスしないセクションには、エラーメッセージが表示されます。
生成されたスケジュールを登録した後にコースを追加する
- 拡張登録ランディングページから、スケジュールジェネレータを選択し、登録したい適切なタームを選択します
- 最後に登録したスケジュールが現在のスケジュールとショッピングカートに表示されます。
- 「+Add Course」を選択し、追加したいコースを検索し、「Add Course」を選択して完了です。
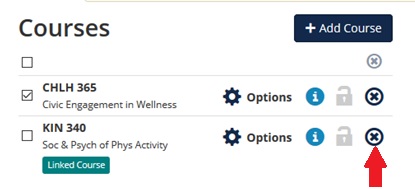
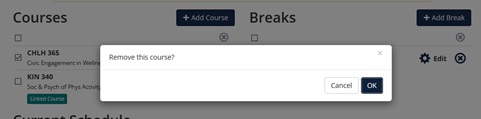
- スケジュール生成前に、コースグリッドで追加したコース以外のすべてのコースを削除してください。
- 納得できるスケジュールを見つけたら、スケジュールの生成、スケジュールの表示、ショッピングカートに送信を選択します。
- Schedule Generatorが終了し、Enhanced Registration Main Menuに戻ります。
- Enhanced Registration Main Menuから、Register for Classesを選択し、Termを選択します。
- Select the Plans tab and select Add in the Schedule Generator Shopping Cart to add the new course(s) to the Summary panel in Pending status.
- Submit to register for the additional course(s).
Other Features
Lock a Course
Find a course section you would like included in your generated schedule search results? When viewing a schedule, select the Lock icon and then select Back. Regenerate Schedules to populate only schedules that include that course section you locked.